Ranunculus, known for their stunning blooms and vibrant colors, have captured the hearts of gardeners and flower enthusiasts alike. These perennial plants, often referred to as buttercups, are celebrated for their lush, layered petals and their ability to thrive in various garden settings. This article will provide a comprehensive guide on how to grow ranunculus from seeds, ensuring that you can enjoy the beauty of these flowers in your own garden.
Understanding Ranunculus: A Floral Marvel

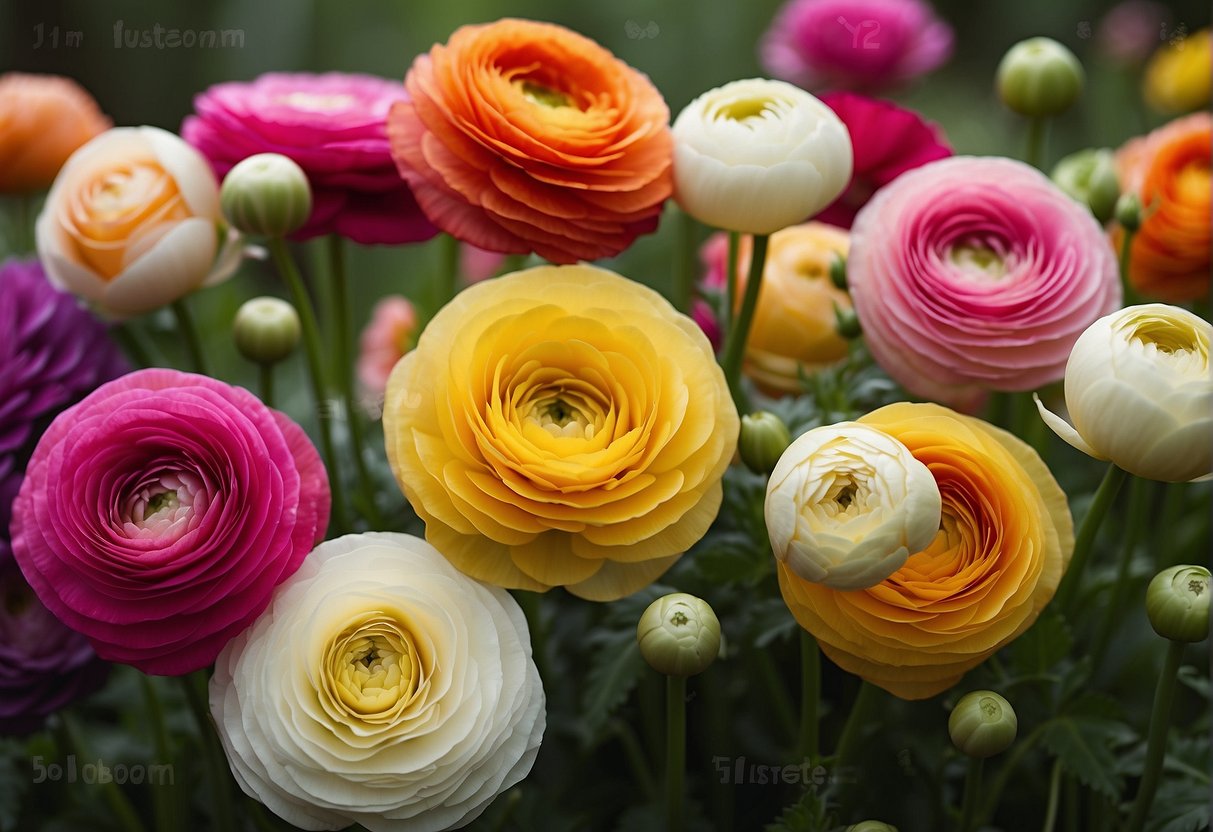
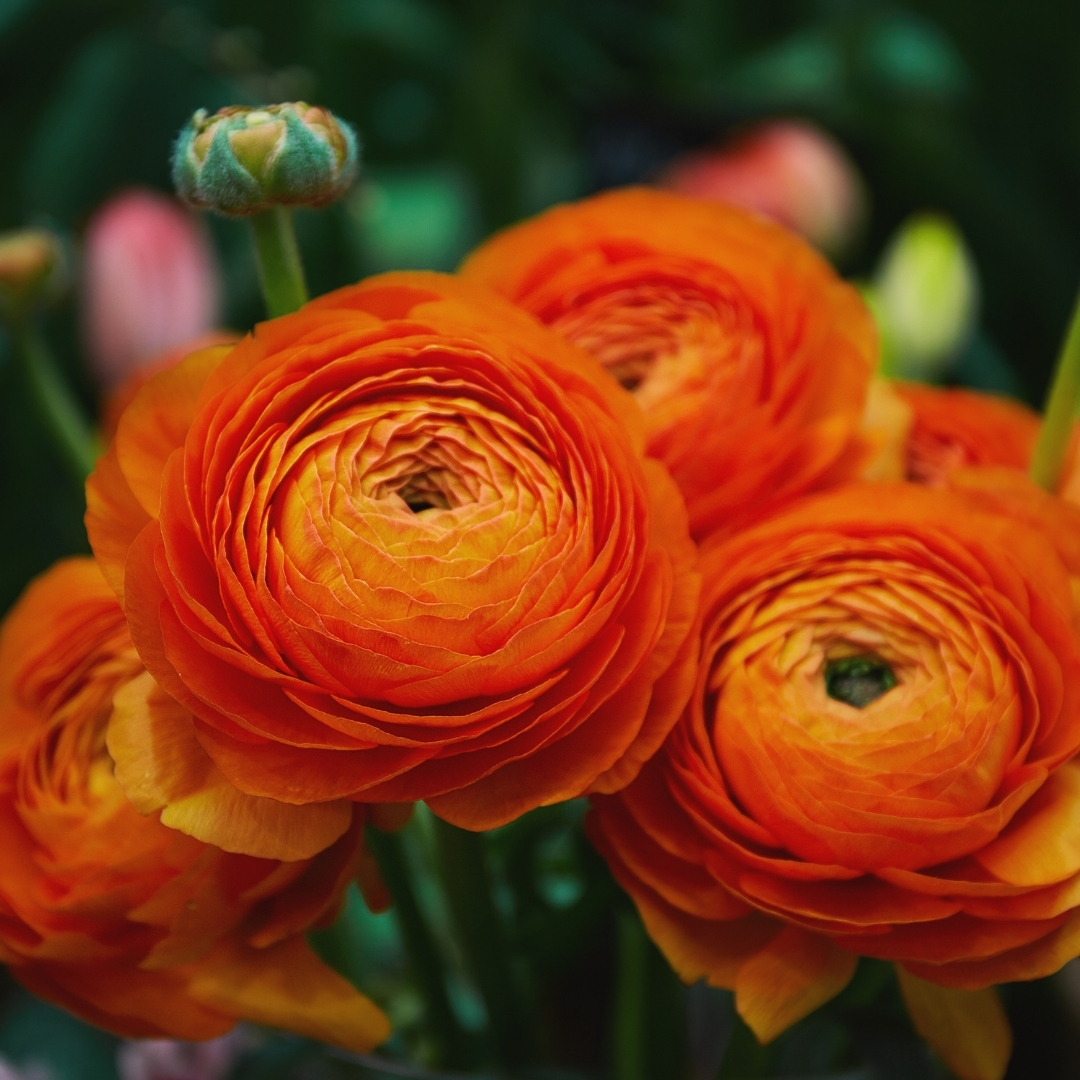
Ranunculus belongs to the Ranunculaceae family, which consists of around 600 species. They are native to various regions around the world, including Europe, Asia, and North America. The flowers typically bloom in spring and come in a wide range of colors, including shades of white, yellow, orange, pink, and purple. Their unique structure, with tightly packed petals, gives them a peony-like appearance.
Here are some key points about the beauty of ranunculus:
- Variety: Ranunculus offers a diverse selection of species and hybrids, each with unique characteristics.
- Colorful Blooms: The vibrant colors of ranunculus can enhance any garden design.
- Long-lasting Cut Flowers: Ranunculus flowers are not only beautiful in the garden but also make excellent cut flowers, lasting for a week or more in a vase.
Preparing for Planting: Selecting the Right Seeds
Before you start growing ranunculus from seeds, it’s essential to select high-quality seeds from reputable sources. Here are a few tips for choosing the right seeds:
- Look for Freshness: Always check the seed packets for the harvest date. Fresh seeds have higher germination rates.
- Choose Varieties: Decide whether you want traditional ranunculus or hybrids that may offer unique colors and forms.
- Research Suppliers: Purchase seeds from well-known gardening companies or local nurseries to ensure quality.
Growing Ranunculus from Seeds: A Step-by-Step Guide
Successfully growing ranunculus from seeds requires careful planning and execution. Follow these steps to cultivate your own beautiful ranunculus plants:
1. Timing Your Planting
Ranunculus seeds should be sown indoors about 8-12 weeks before the last frost date in your area. This timing allows the plants to establish roots before being transplanted outdoors.
2. Soil Preparation
Ranunculus thrives in well-draining soil rich in organic matter. Here’s how to prepare your soil:
- Choose the Right Mix: A seed-starting mix or a combination of potting soil and perlite works well.
- Check pH Levels: The ideal pH for ranunculus is between 6.0 and 7.0.
- Moisten the Soil: Ensure the soil is damp but not soggy before planting the seeds.
3. Planting the Seeds
When it’s time to plant, follow these guidelines:
- Surface Sowing: Scatter the seeds on the soil surface; they require light to germinate.
- Do Not Bury: Avoid covering the seeds with soil as they need light exposure.
- Water Gently: Mist the soil lightly to avoid displacing the seeds.
4. Providing the Right Environment

Creating a conducive environment for seed germination is crucial. Here’s what you need to ensure:
- Temperature: Maintain a temperature of around 65-70°F (18-21°C).
- Light: Place the containers in a bright location or under grow lights to provide adequate light for germination.
- Humidity: Cover the containers with plastic wrap or a humidity dome until the seeds germinate.
5. Caring for Seedlings

Once the seedlings emerge, typically within 7-14 days, it’s essential to care for them properly:
- Thinning: Thin out the seedlings to prevent overcrowding, leaving the strongest plants.
- Watering: Keep the soil consistently moist but avoid overwatering, which can lead to rot.
- Fertilizing: After about four weeks, start feeding the seedlings with a diluted liquid fertilizer once every two weeks.
6. Transplanting Outdoors
Once the risk of frost has passed and the seedlings are strong enough, it’s time to transplant them outdoors:
- Choose the Right Location: Select a spot that receives full sun to partial shade.
- Spacing: Space the seedlings about 8-12 inches apart to allow for adequate growth.
- Hardening Off: Gradually acclimate your seedlings to outdoor conditions by hardening them off over a week.
Maintaining Your Ranunculus Plants
Once planted, ranunculus requires ongoing care to thrive:
- Watering: Water regularly, but be careful not to waterlog the plants.
- Fertilization: Apply a balanced fertilizer every 4-6 weeks during the growing season.
- Pest Control: Monitor for pests such as aphids and spider mites. Use insecticidal soap or neem oil if necessary.
Harvesting and Enjoying Your Ranunculus
:max_bytes(150000):strip_icc()/GettyImages-955255730-22a01f28c3944d52aba31d895e519605.jpg)
As the ranunculus blooms, you can enjoy their beauty in your garden or as cut flowers:
- Timing: Harvest flowers in the morning when they are fully open.
- Cutting: Cut the stems at an angle to maximize water uptake.
- Arranging: Use them in bouquets or arrangements to showcase their vibrant colors.
Conclusion: Cultivating the Beauty of Ranunculus
Growing ranunculus from seeds can be a rewarding experience, allowing you to enjoy one of nature’s most beautiful flowers. By following the steps outlined in this guide, from seed selection to proper care, you can cultivate a stunning display of ranunculus blooms in your garden. Their vibrant colors and lush petals will not only enhance your garden’s aesthetic but also provide joy as cut flowers in your home.
In summary, remember the following key points:
- Choose high-quality seeds and prepare your soil carefully.
- Provide the right conditions for germination and seedling growth.
- Maintain your plants with proper watering, fertilization, and pest control.
- Enjoy the beauty of ranunculus both in your garden and as delightful cut flowers.
With patience and care, you will find that the beauty of ranunculus is worth the effort, bringing joy and color to your surroundings for years to come.

